25. Getting started bc
25.1 Importing a DMN in Business Central
If you want to try this in Business Central, you can go through the following steps, but it is not required.
-
From the GitHub web page, click Clone or download on the right and then select Download ZIP:
-
Using your favorite file system navigation tool, locate the downloaded ZIP file and unzip it to a directory in your file system.
- From this point forward, this location is referred to as
$PROJECT_HOME.
- From this point forward, this location is referred to as
-
Log in to Business Central. You can use either
{{ bamAdmin }}:{{ bamPass }}to do so or whatever login you have created on your instance. -
Create a project in Business Central called
policy-price. -
In the empty project library view for the
policy-priceproject, click Import Asset.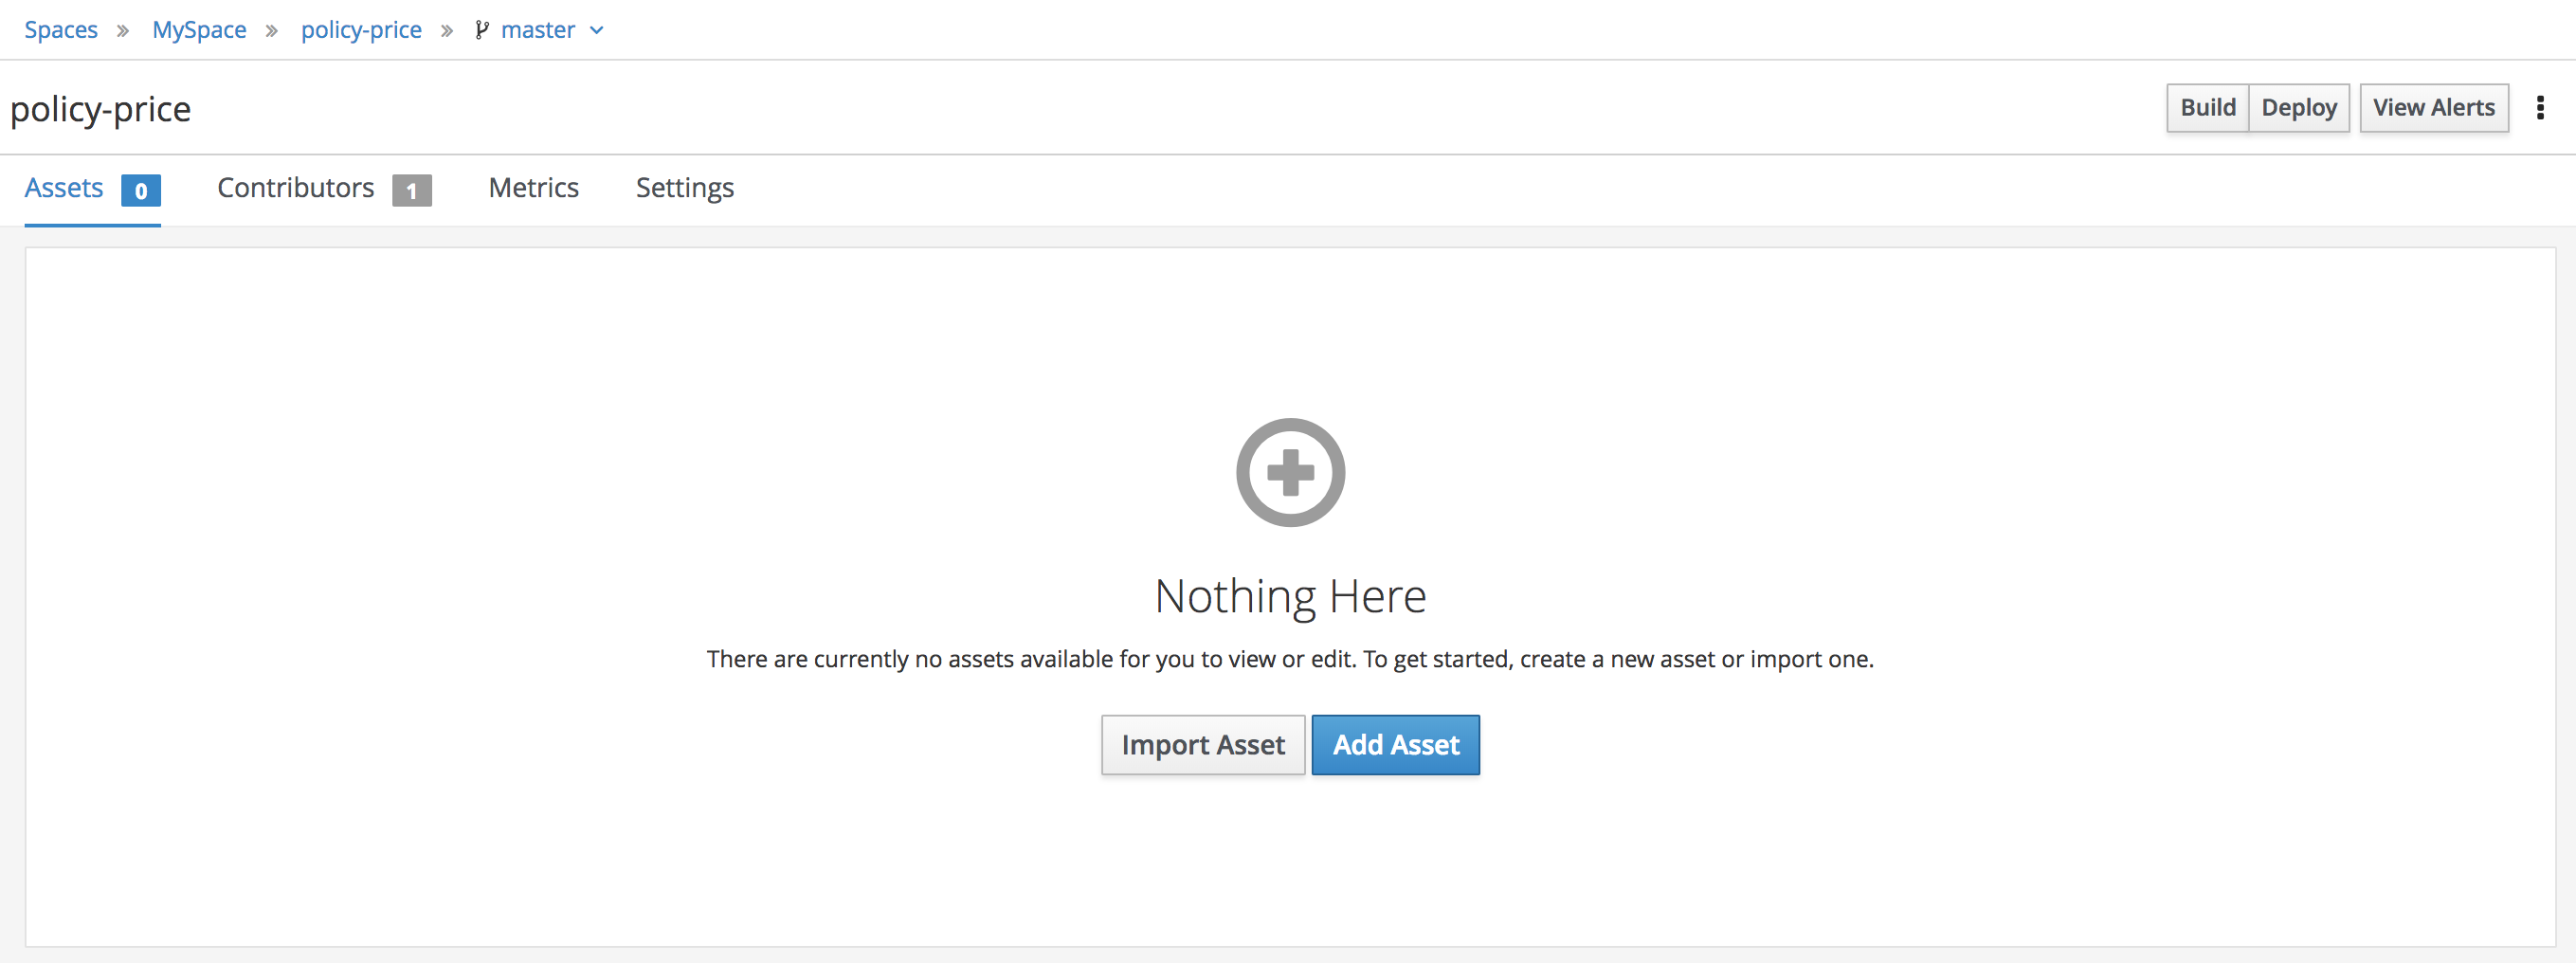
-
In the Create new Uploaded file dialog, enter
insurance-pricing.dmnin the Uploaded file field: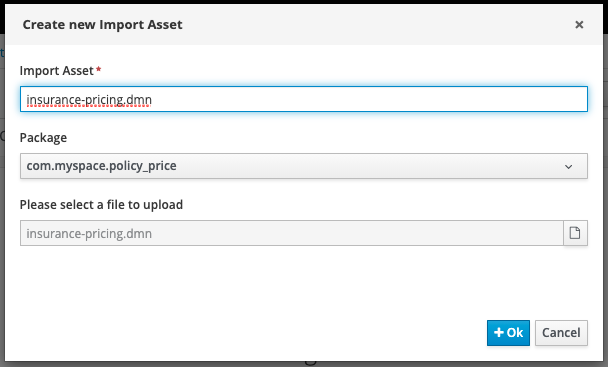
-
Using the browse button at the far right of the field labeled Please select a file to upload, navigate with the file browser to the
$PROJECT_HOMEdirectory where the unzipped Git repository is located. -
Select the
$PROJECT_HOME\policy-price\insurance-pricing.dmnfile. -
Click Ok to import the DMN asset.
-
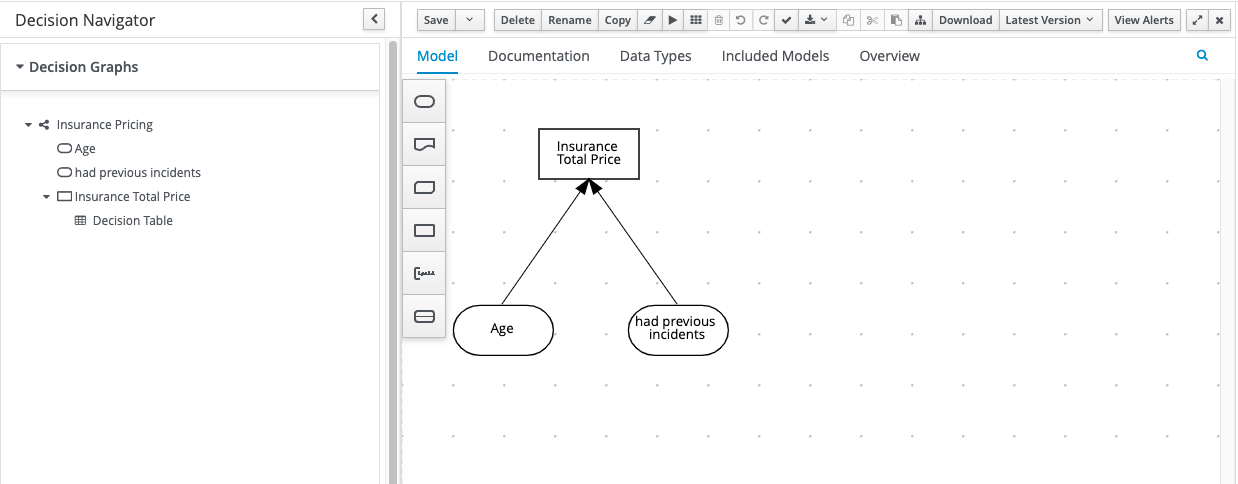
The diagram will open and you will be able to see the DRD. Explore the diagram nodes to check the decision policies of this diagram.
-
Close the diagram. You should now be on the library view for the
policy-priceproject. -
You should see the
insurance-pricingasset is added to your project assets:
-
From the
policy-priceproject’s library view, click Build, then Deploy to deploy the project to the execution server. -
After receiving the build confirmation, navigate to the container deployment list by clicking the "View deployment details" link in the confirmation pop-up, or by selecting Menu → Deploy → Execution Servers.
-
Verify that
policy-price_2.0.0shows a green status: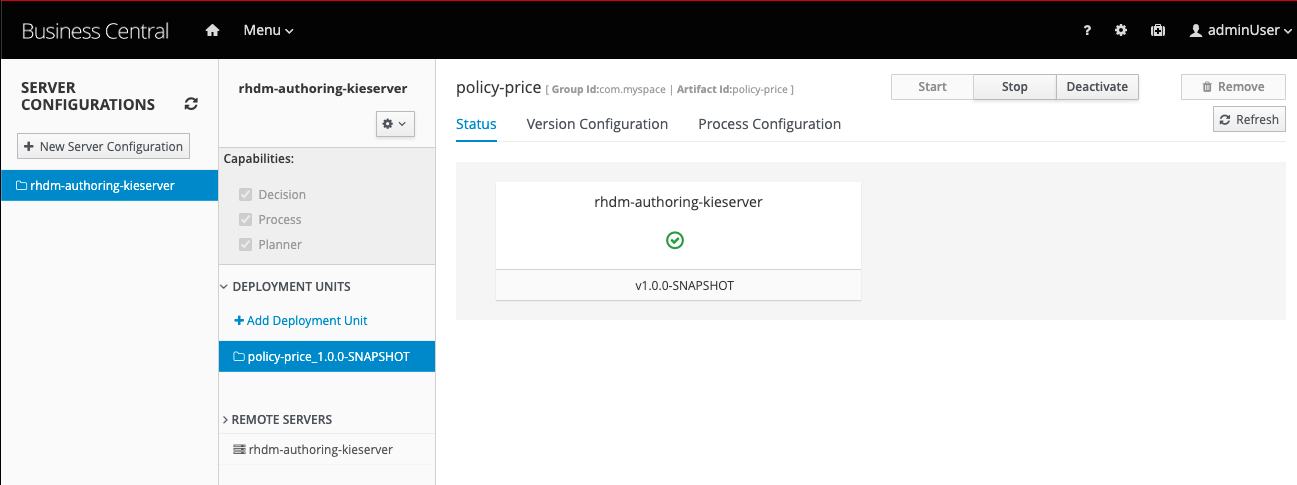
25.2 Testing the Decision Service on KIE Server
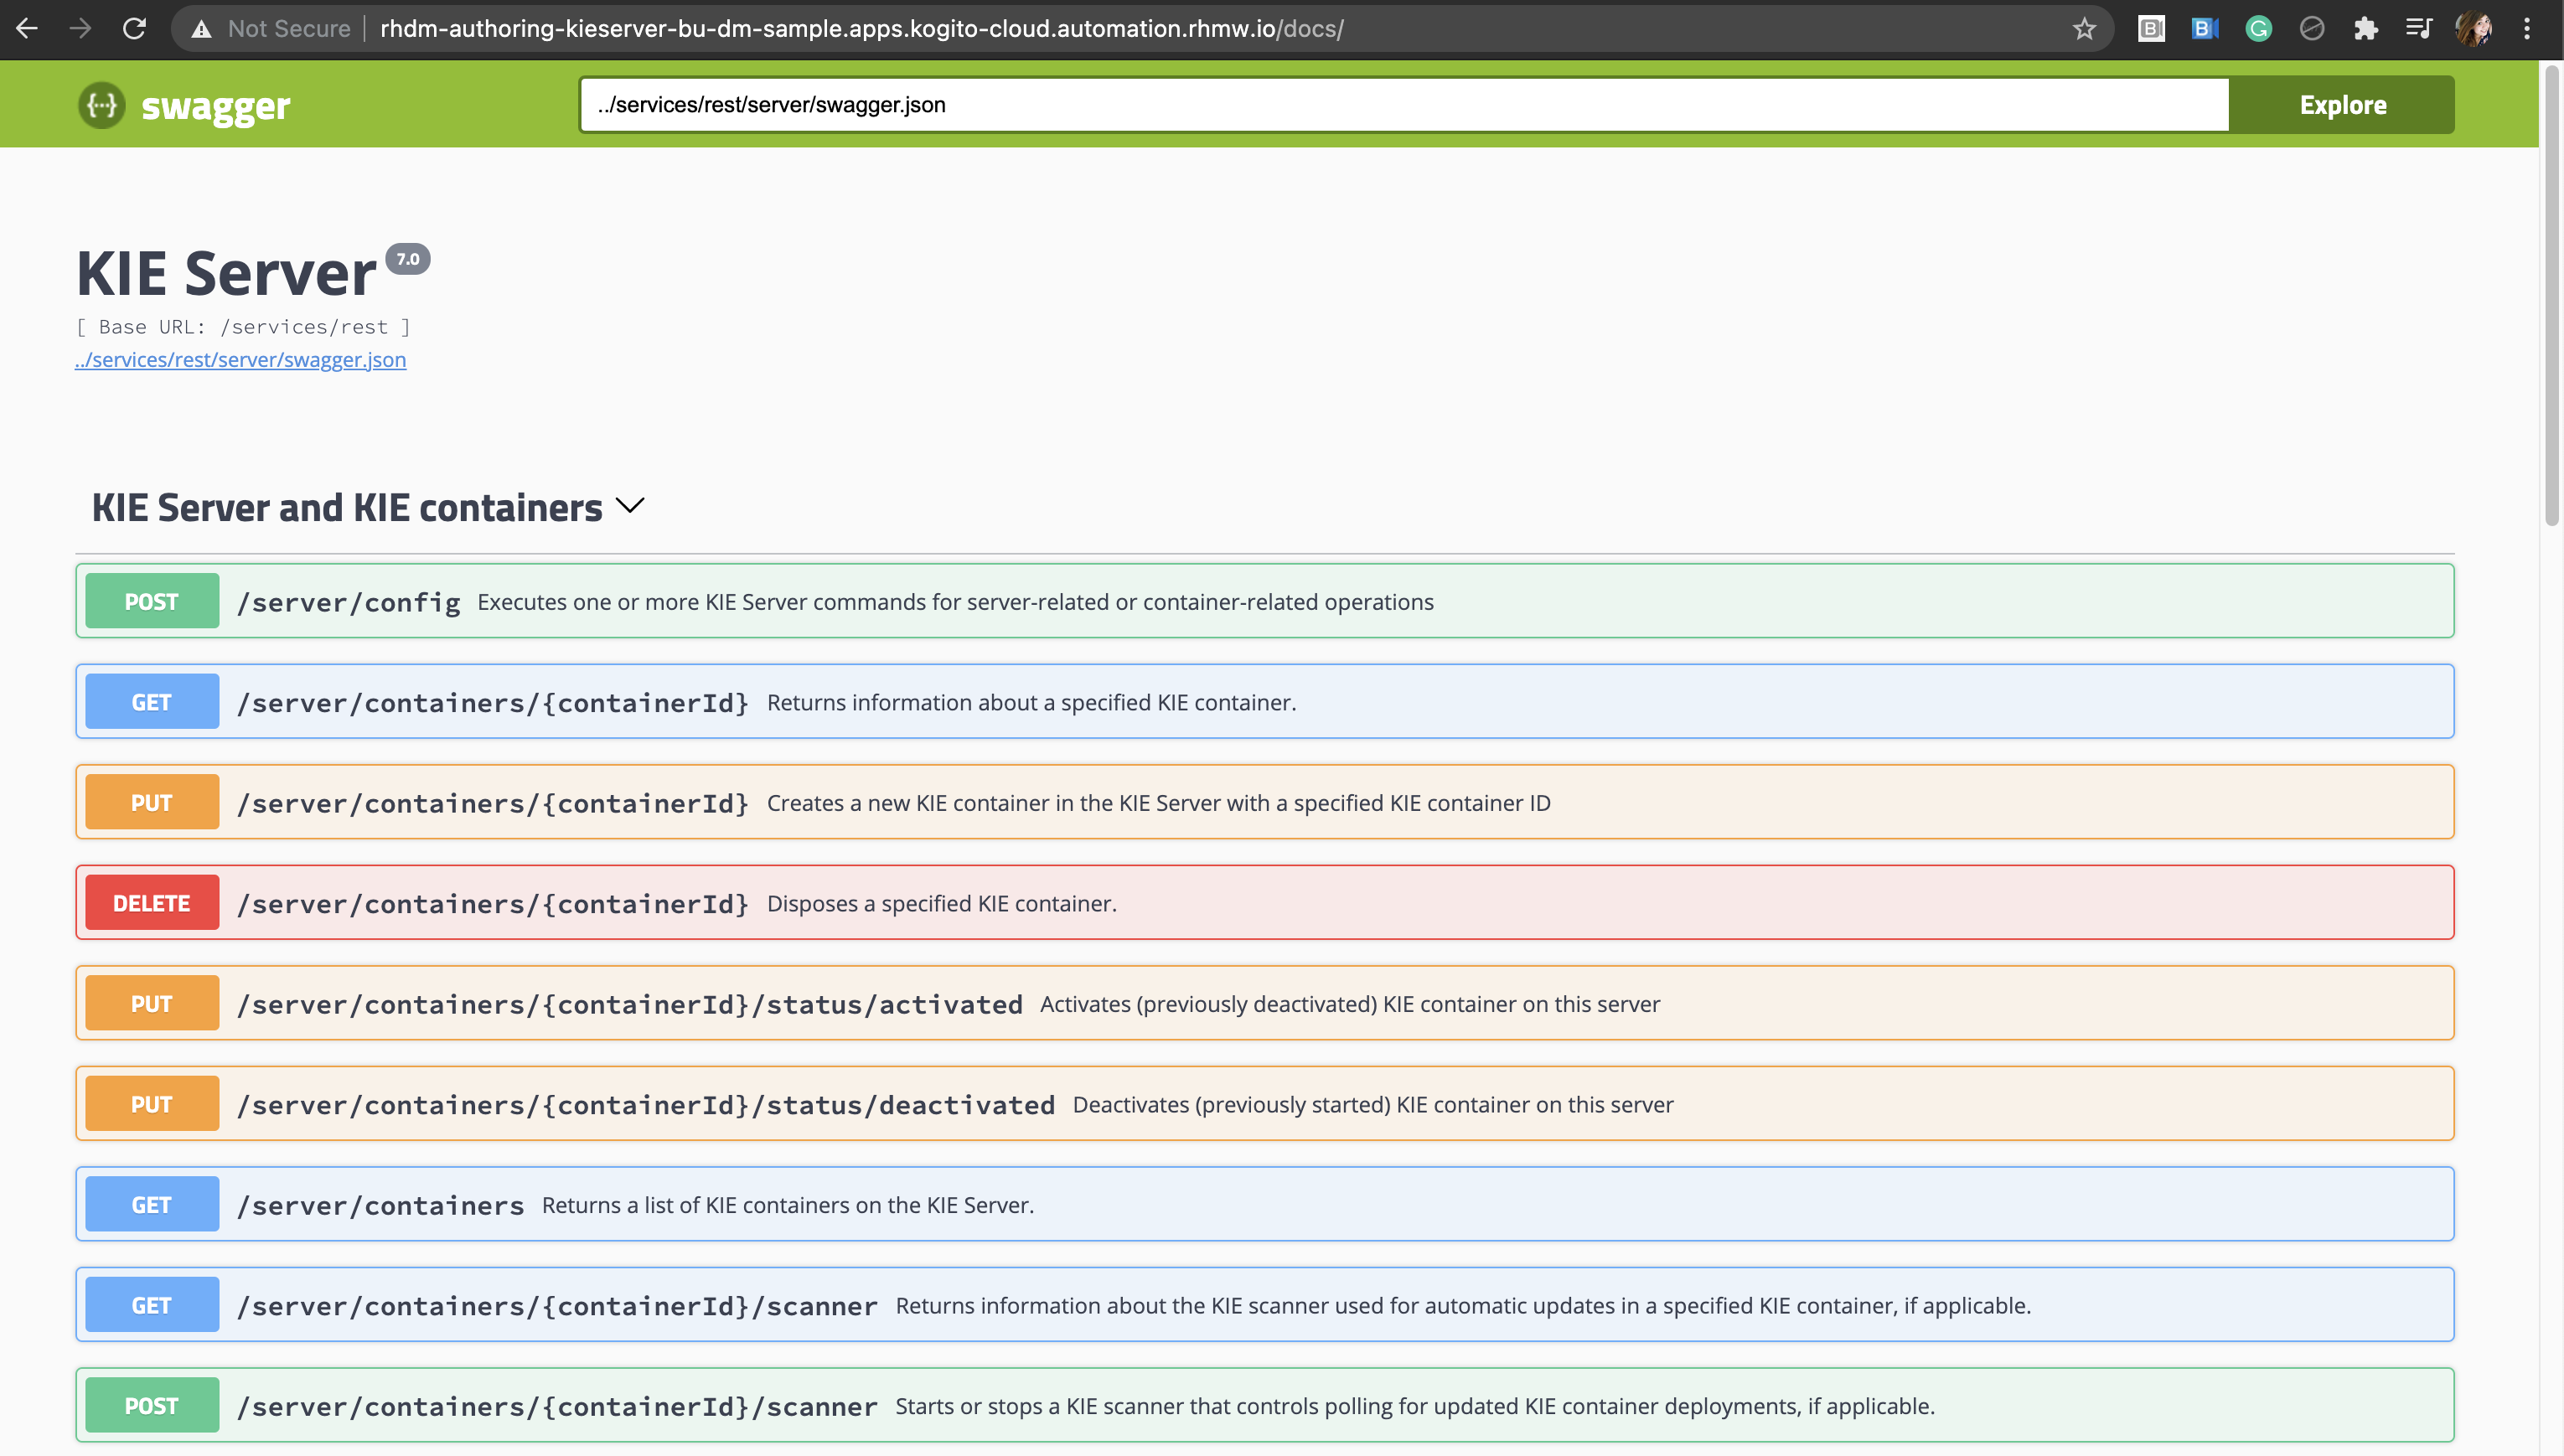
In this section, you test the DMN solution using the REST endpoints available in the Decision Server (a.k.a. KIE Server).
-
Open your Decision Server (a.k.a KIE Server) on the url "/docs". You should see something like this:
-
Next, under
DMN Models, click on thePOST /server/containers/{containerId}/dmn"and select "Try it out":
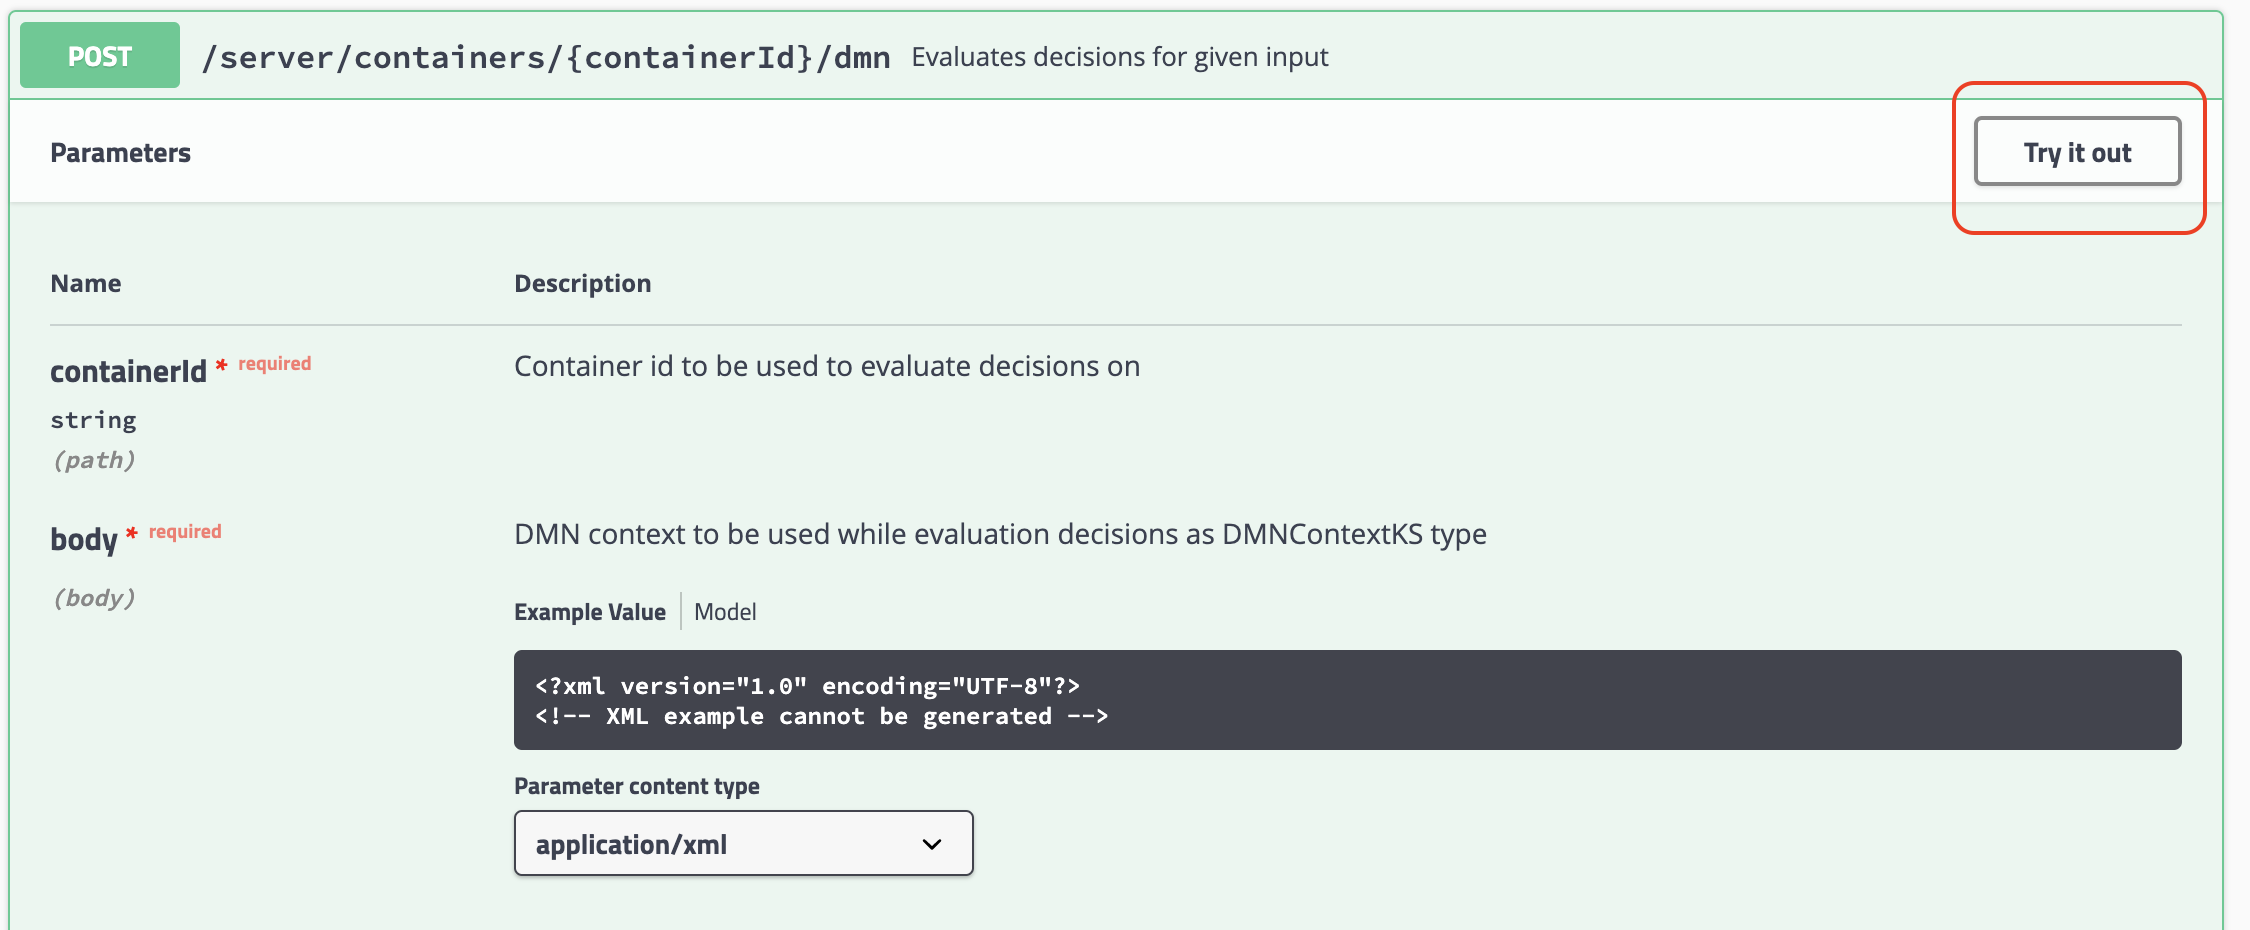
-
Now use the following data:
-
Container ID:
policy-price - Body (dmn context):
{"dmn-context": {"Age": 20, "had previous incidents": false}} - Parameter content type:
application/json
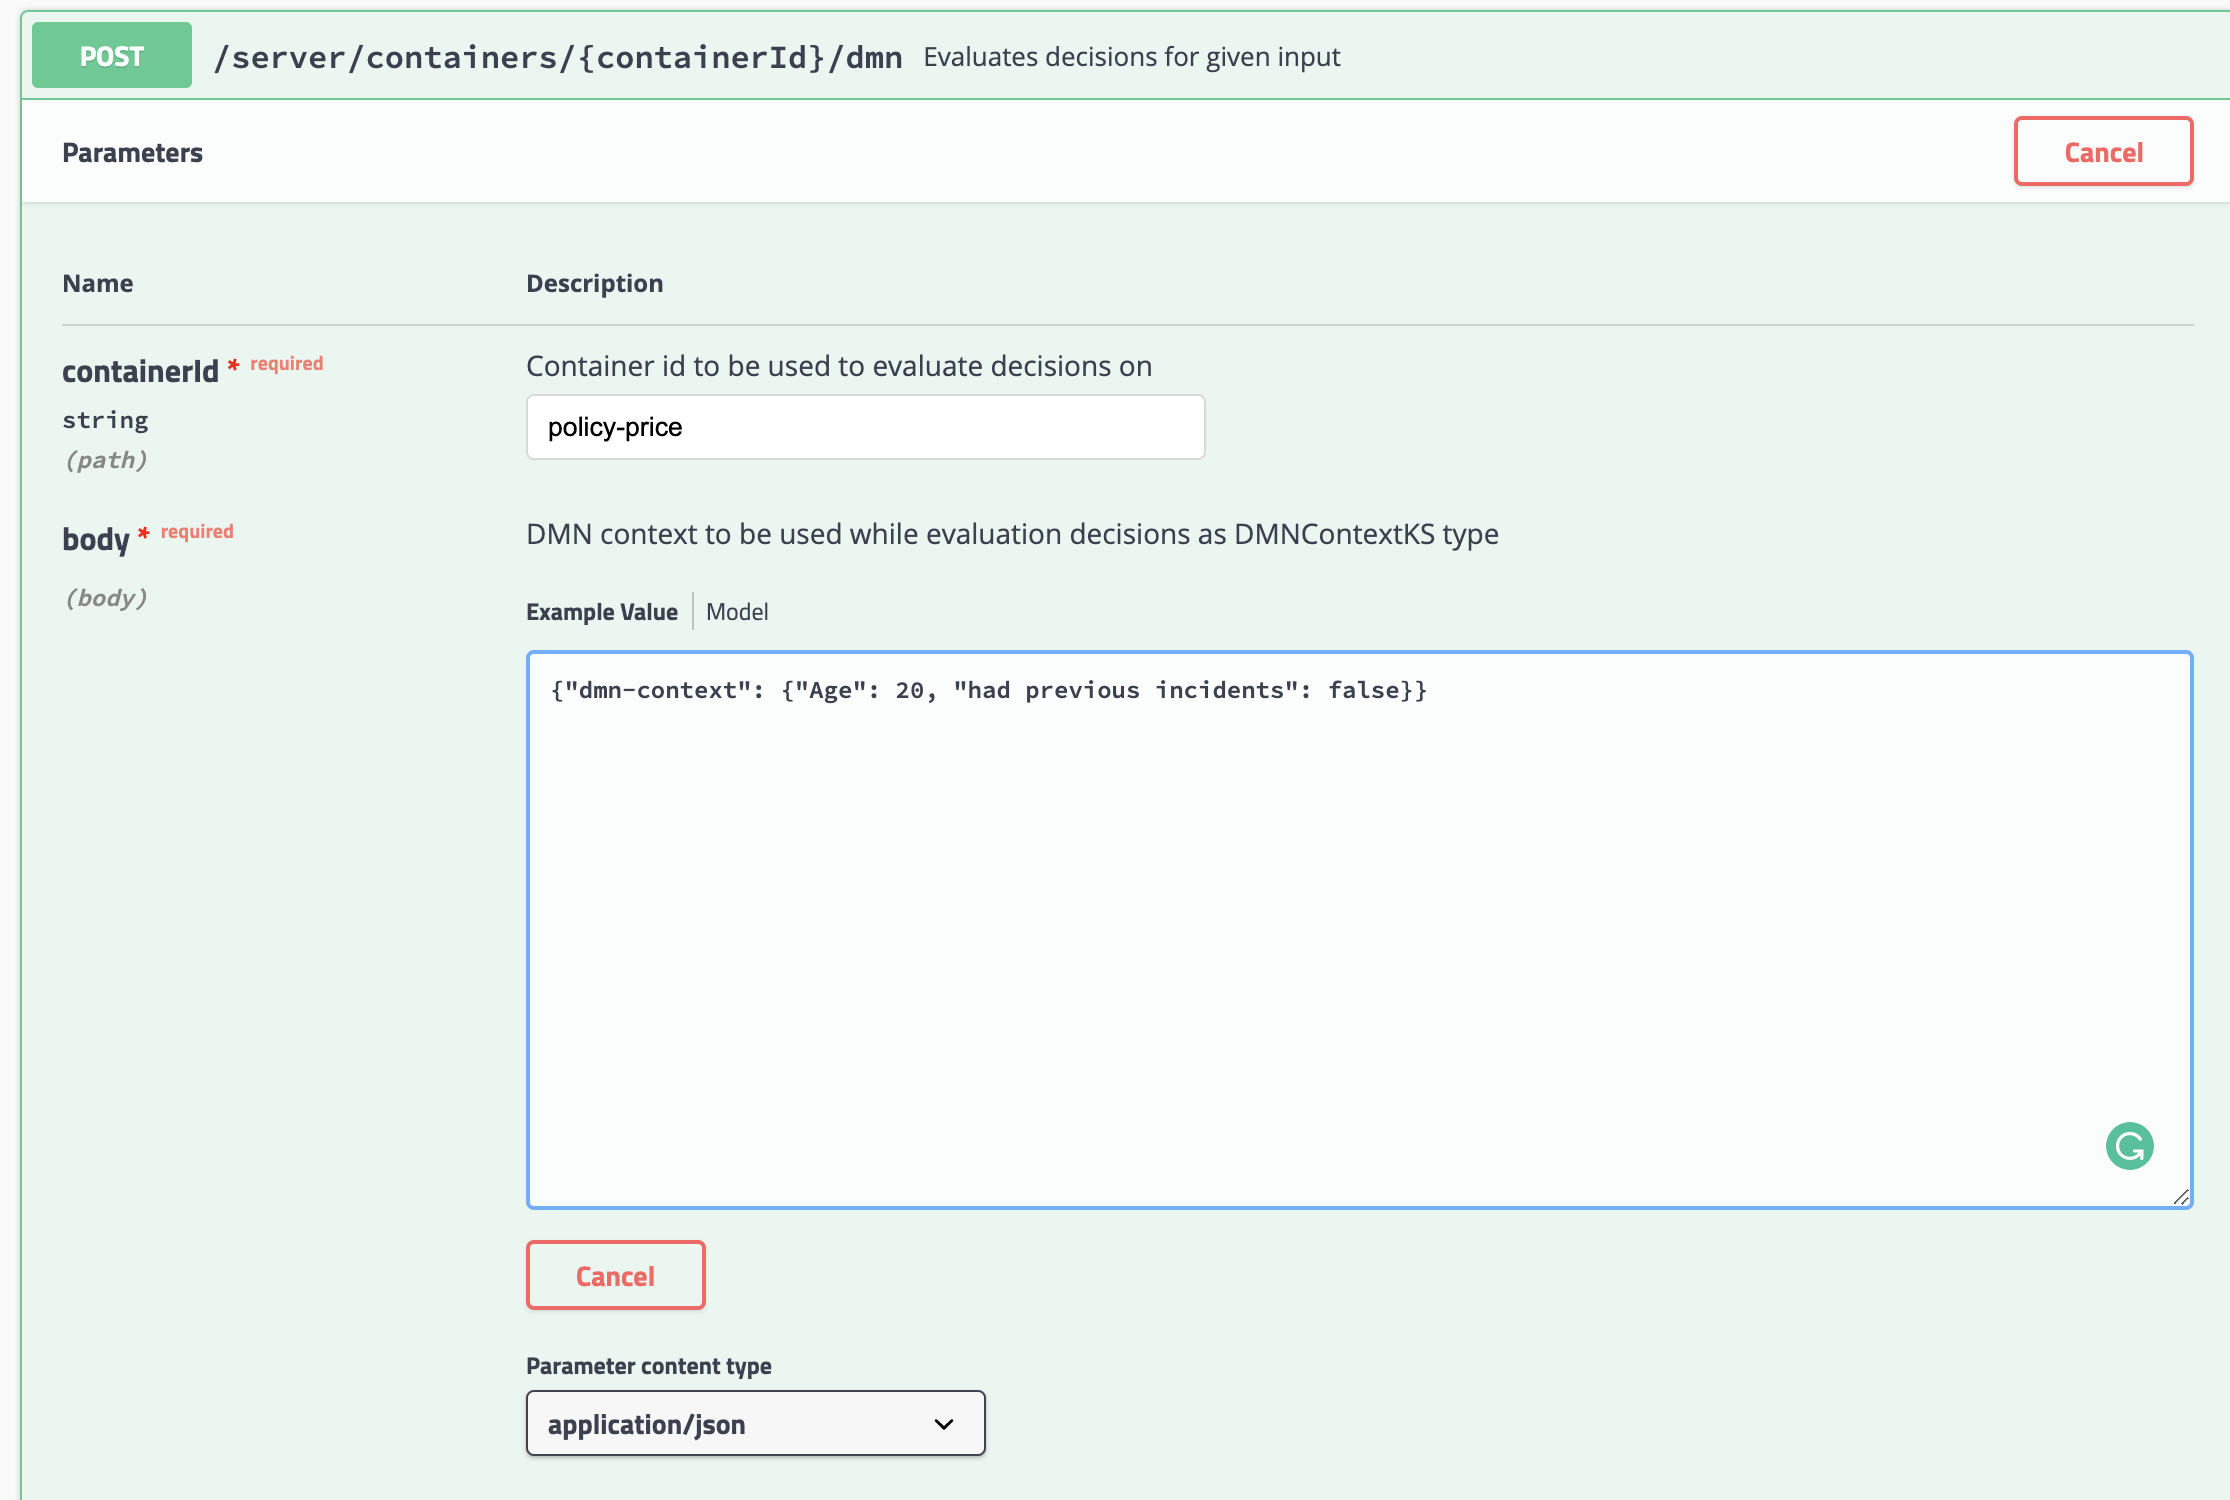
-
Click on the execute button. You should see the server response
200and the results of the decision.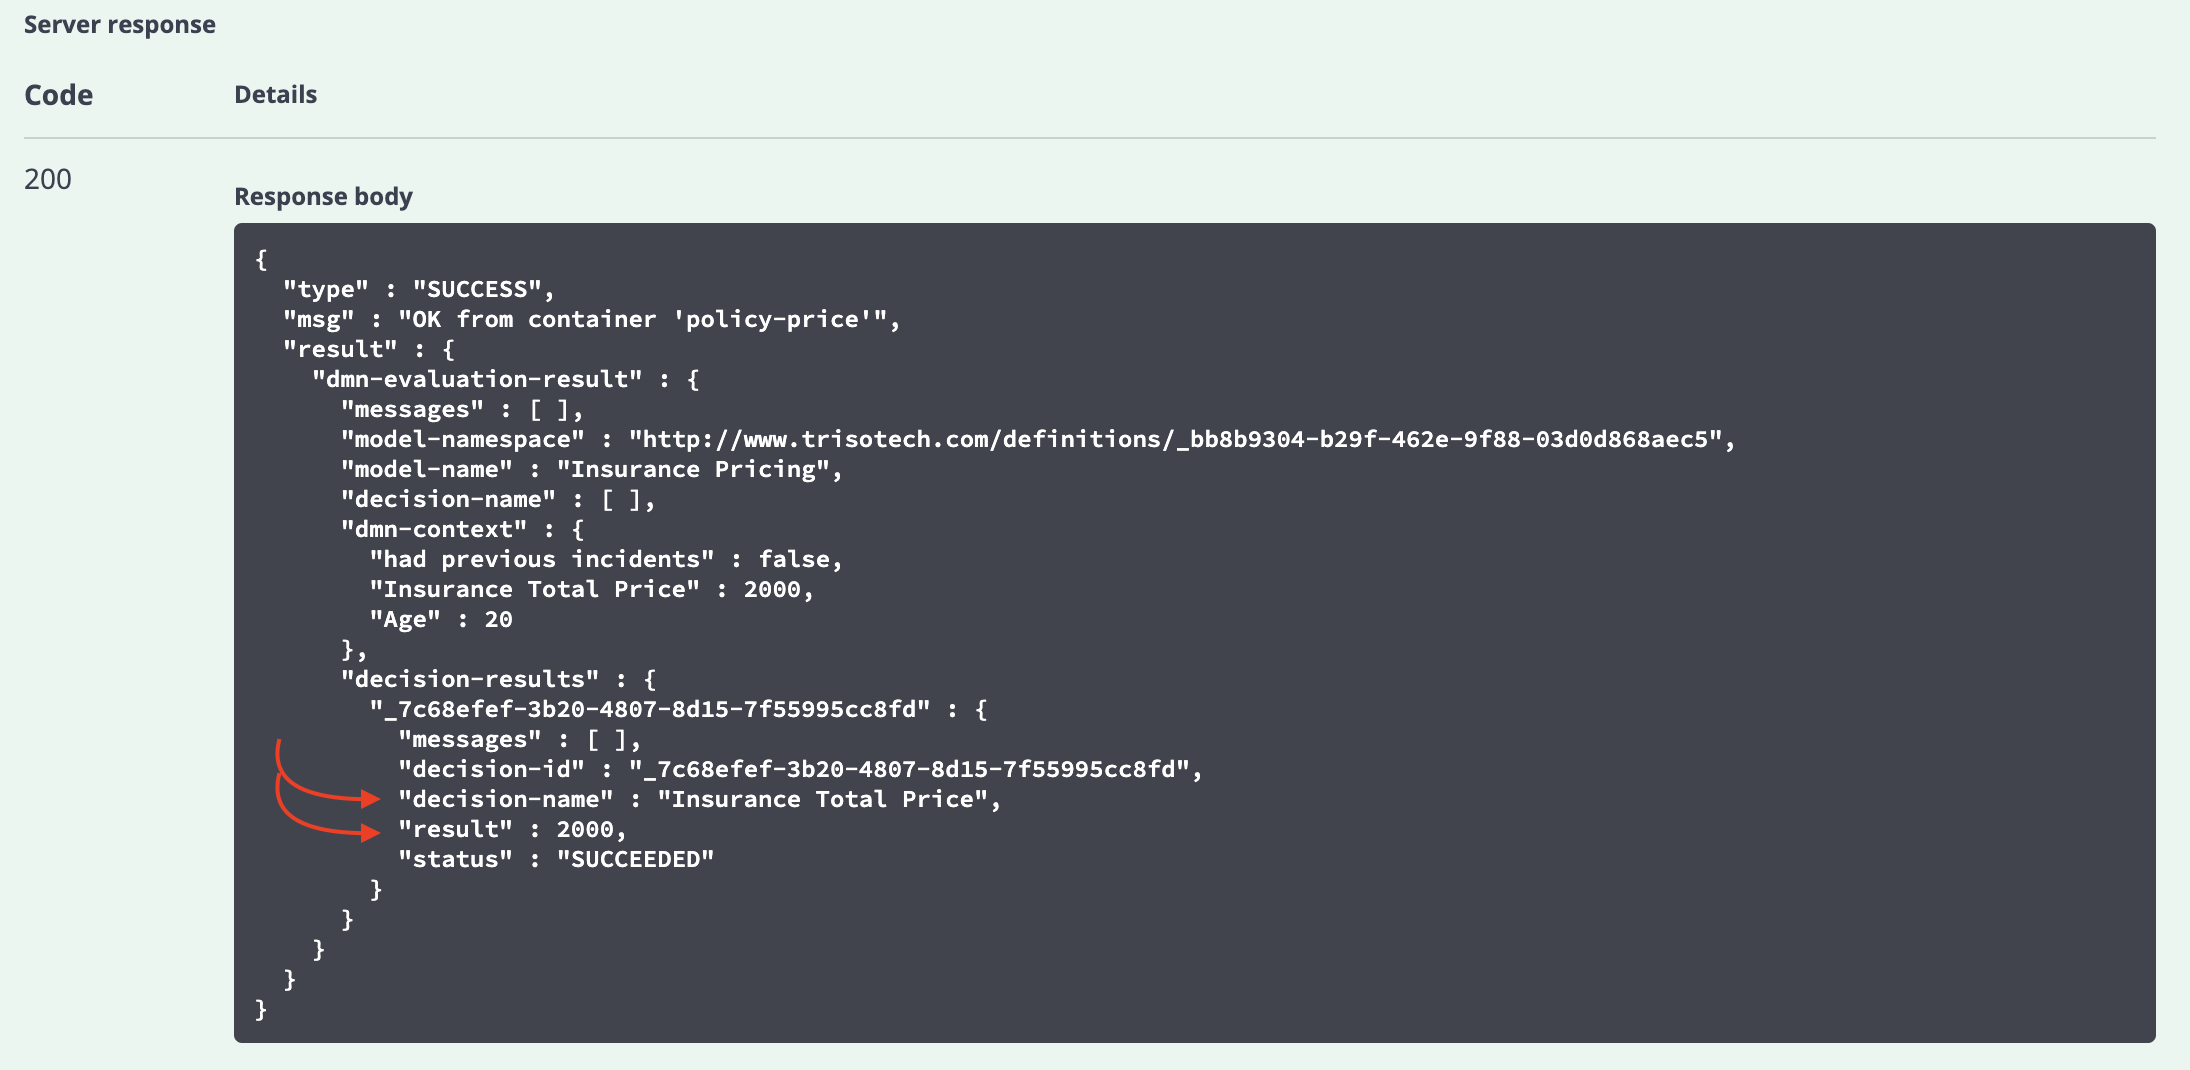
-
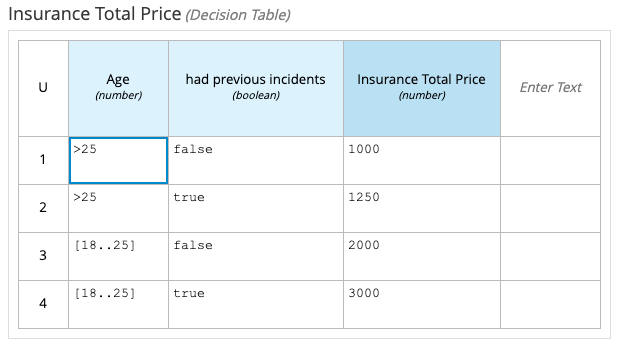
Try out the Decision with different values for the age and accident history, and compare the results with the decision table: